Create Objects...
The Create Objects dialog box allows you to create objects.
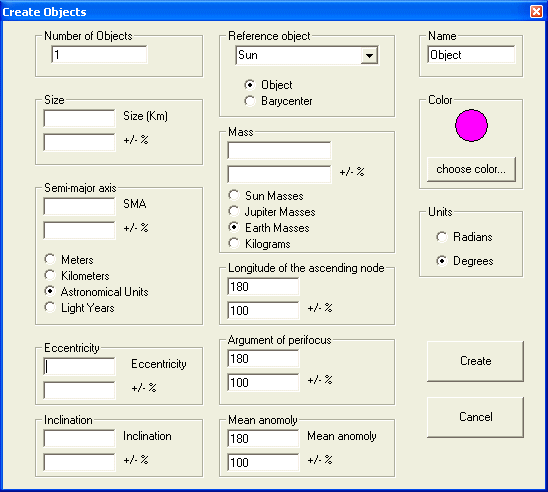
You may create objects one at a time, or you may create multiple objects. The speed of your computer's processor will limit how many objects you can simulate at once and still have your simulation run at an acceptable rate.
To create a single object, leave Number of Objects set to 1.
Choose a Reference Object. The default is your simulation's current Focus Object
Choose a size (Diameter) in kilometers for your object. The +/- box will cause the program to choose a random value for you in the specified range. For example, if you enter 1000 kilometers +/- 50%, the program will choose a random value for you in the range of 500 - 1500 kilometers. This is useful when creating multiple objects.
Choose a Semi-major axis. This is your object's average distance from its reference object. You may choose units of Meters, Kilometers, Astronomical Units, or Light Years. The +/- box will cause the program to choose a random value for you in the specified range. For example, if you enter 10 Astronomical Units +/- 50%, the program will choose a random value for you in the range of 5 - 15 Astronomical Units. This is useful when creating multiple objects.
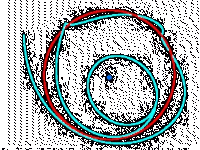
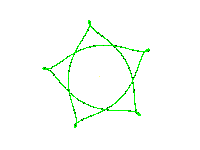
Choose an Eccentricity. This describes the shape of your orbit. Values should be in the range of 0-1. An orbit with an eccentricity of 0 is perfectly round. An object with an eccentricity of 0.9999 is highly elliptical. The +/- box will cause the program to choose a random value for you in the specified range. For example, if you enter .5 +/- 50%, the program will choose a random value for you in the range of 0.25 - 0.75. This is useful when creating multiple objects.
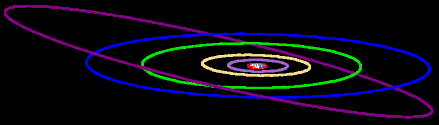
Choose an Inclination. This determines the plane of your orbit with respect to the ecliptic. Values should be between 0-360 degrees or 0 to 2pi radians. An orbit whose inclination is 0 orbits in the ecliptic. An object with an inclination of 90 degrees is in a polar orbit. An object with an inclination of 180 degrees orbits in the ecliptic, but in a retrograde (backwards) direction. The +/- box will cause the program to choose a random value for you in the specified range. For example, if you enter 10 degrees +/- 50%, the program will choose a random value for you in the range of 5 - 15 degrees. This is useful when creating multiple objects.
Choose a Mass. You may specify units of Sun masses, Jupiter Masses, Earth Masses, or Kilograms. The +/- box will cause the program to choose a random value for you in the specified range. For example, if you enter 1 Earth mass +/- 50%, the program will choose a random value for you in the range of 0.5 - 1.5 Earth masses. This is useful when creating multiple objects.
Choose a Longitude of ascending node. Values should be in the range of 0 - 360 degrees or 0-2pi radians. If you entered a value other than 0 for inclination, this determines the point where your orbit crosses the ecliptic from South to North. The +/- box will cause the program to choose a random value for you in the specified range. For example, if you enter 10 degrees +/- 50%, the program will choose a random value for you in the range of 5 - 15 degrees. This is useful when creating multiple objects.
Choose an Argument of perifocus. Values should be in the range of 0 - 360 degrees or 0 - 2pi radians. If you entered a value other than 0 for eccentricity, this determines where in your orbit your object will make its closest pass to its reference object. The +/- box will cause the program to choose a random value for you in the specified range. For example, if you enter 10 degrees +/- 50%, the program will choose a random value for you in the range of 5 - 15 degrees. This is useful when creating multiple objects.
Choose a Mean anomoly. This determines where in the orbit the object will be when it is created. Values should be in the range of 0 - 360 degrees or 0 - 2pi radians. The +/- box will cause the program to choose a random value for you in the specified range. For example, if you enter 10 degrees +/- 50%, the program will choose a random value for you in the range of 5 - 15 degrees. This is useful when creating multiple objects.
Give your object a Name. If you choose a Number of Objects greater than 1, then the program will add a number to the end of the name you specify.
Specify whether you used Degrees or Radians.
Press Create to create the object or objects.
Press Cancel to close the Create Objects box without creating any objects.


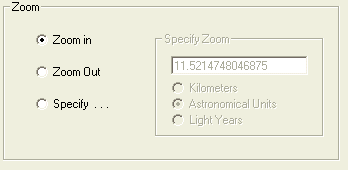
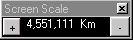 displays the current width of the simulation screen. For example, a reading of 11.521 AU means that the distance displayed from the left edge to the right edge of the simulation screen is 11.521 astronomical units. Pressing the + or - buttons allows you to zoom in or zoom out, by 50% per click.
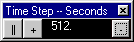 displays the current time step and allows you to adjust the time step. Time step is critical in all simulations. A time step that is too slow makes the simulation take a long time to run which can be quite boring to watch. A time step that is too fast introduces math errors that make the results unreliable. The || and > button pauses and plays the simulation.
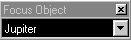 displays the current focus object. This is the object that will be locked to the center of the screen. If the simulation is in Floating mode (see Graphics Options), it locks that object's barycenter to the center of the screen.
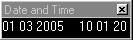 displays the current date and time.
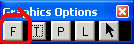
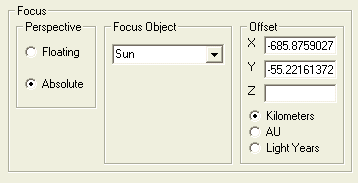
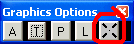
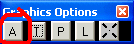 toggles between Floating and Absolute Modes. The button's caption changes to A when in the floating mode, meaning that pressing it puts you in Absolute mode. When in absolute mode, the button's caption is F, meaning that pressing it puts you in Floating mode. In absolute mode, the object displayed in the Focus Object window is locked to the center of the screen. In Floating mode, the Focus object's barycenter is locked to the center of the screen. The barycenter is defined as the center of mass of the focus object and all objects whose reference object is the focus object.
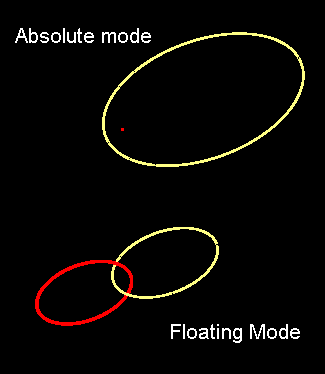
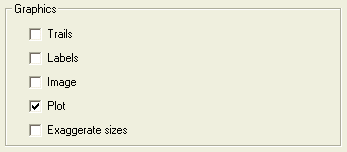
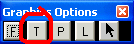 toggles between Trails and No Trails. This determines whether the objects on the screen trace a path. You may also toggle between Trails / No Trails with the T button on your keyboard.
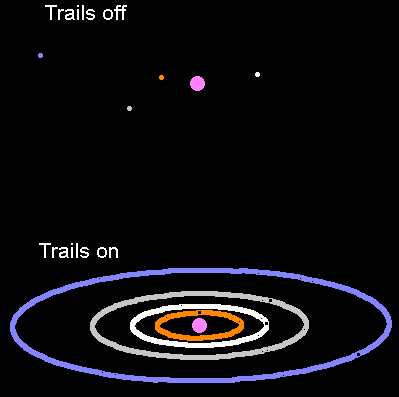
 toggles between Plot and Don't Plot modes. In the don't plot mode, the simulation appears to be paused. But it is still crunching numbers in the background. The simulation runs faster if it doesn't have to display any output. This is helpful for long-term simulation where you may want to leave the simulation running overnight or for a few days.
 toggles between Labels and No Labels. You may also toggle between the Labels / No Labels mode with the L button on your keyboard. With Labels turned on, every object on the screen has its name displayed next to it.
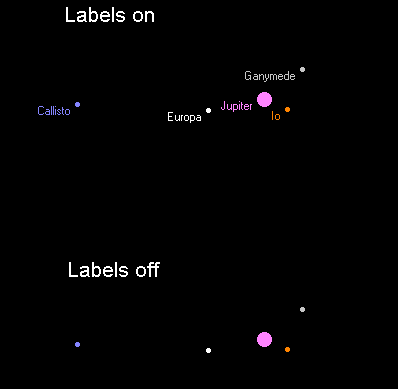
 allows you to choose a custom focus point, rather than choosing an object from the Focus Object window.